ArtCraft · Intermediate
Compose in 2D and stage in 3D, then generate with ArtCraft
Use ArtCraft’s canvas to cut out and arrange images, block a scene with 3D characters and a camera, and turn it into a finished image with a mask, including what didn’t work.
ArtCraft’s pitch is control: instead of rewriting a prompt until the picture comes out right, you build the shot first. This tutorial tries both halves of that idea, the 2D canvas and the 3D stage, in ArtCraft 0.41.0. We stayed on free models, so some results are rough, and we show those too.
Part 1: the 2D canvas
Load a base image
Open the canvas (pen icon in the top bar, or Edit Image on the home screen). Start from Pick from Library or upload a file. We used the lighthouse from the previous tutorial.
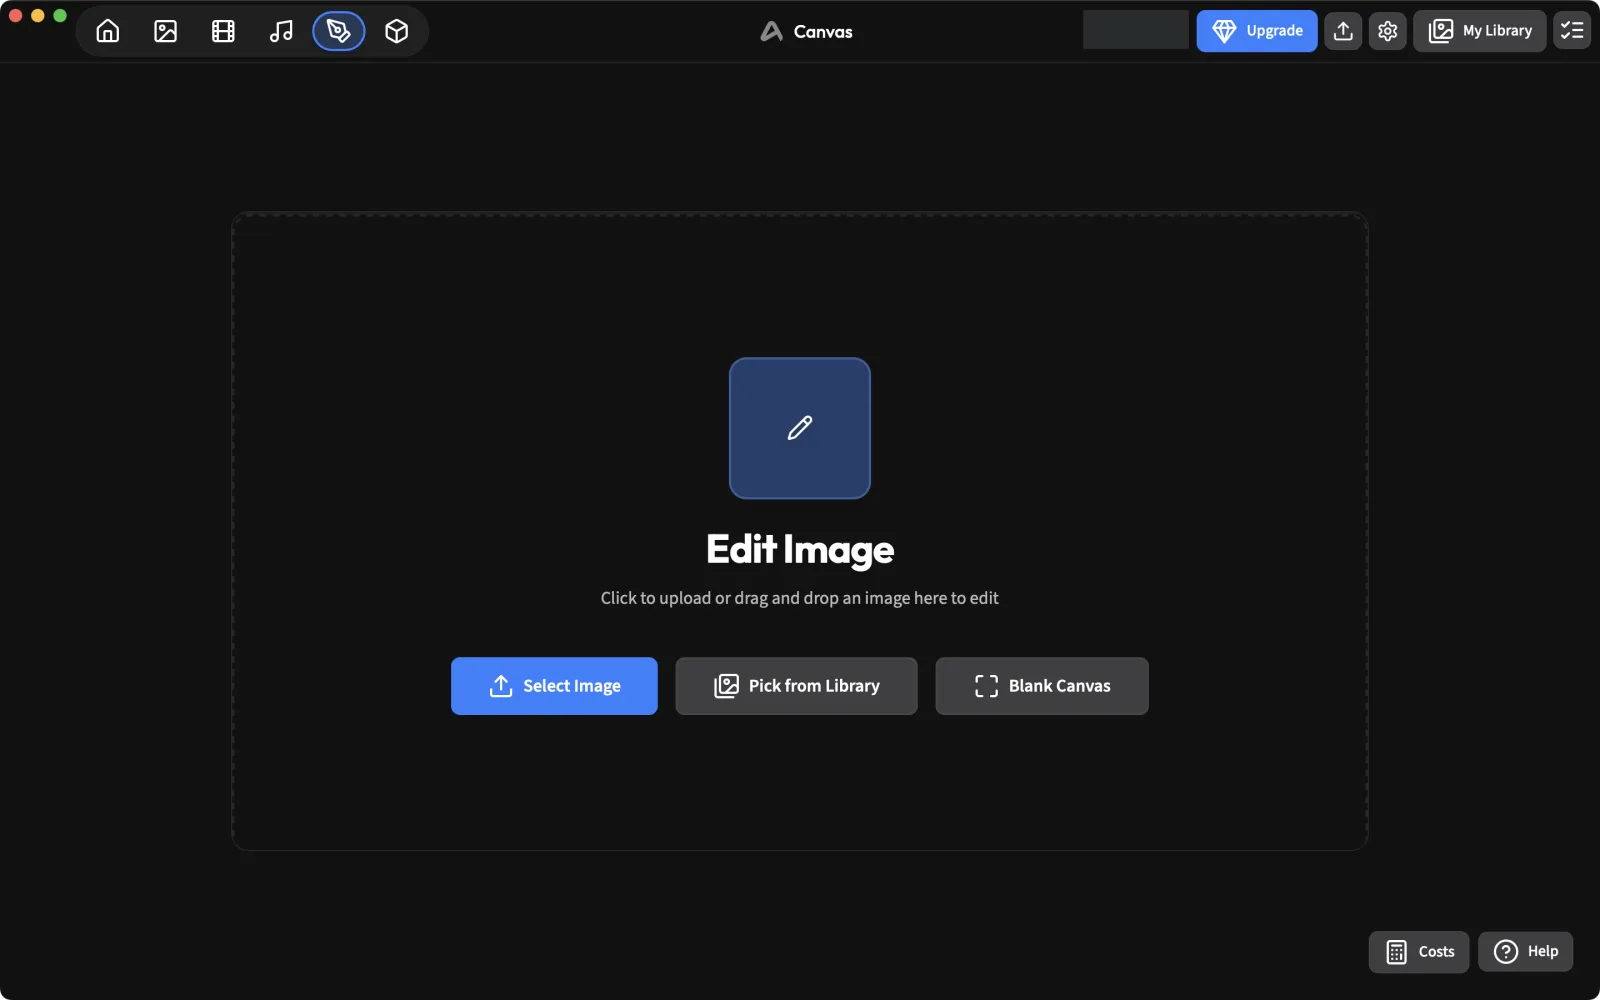
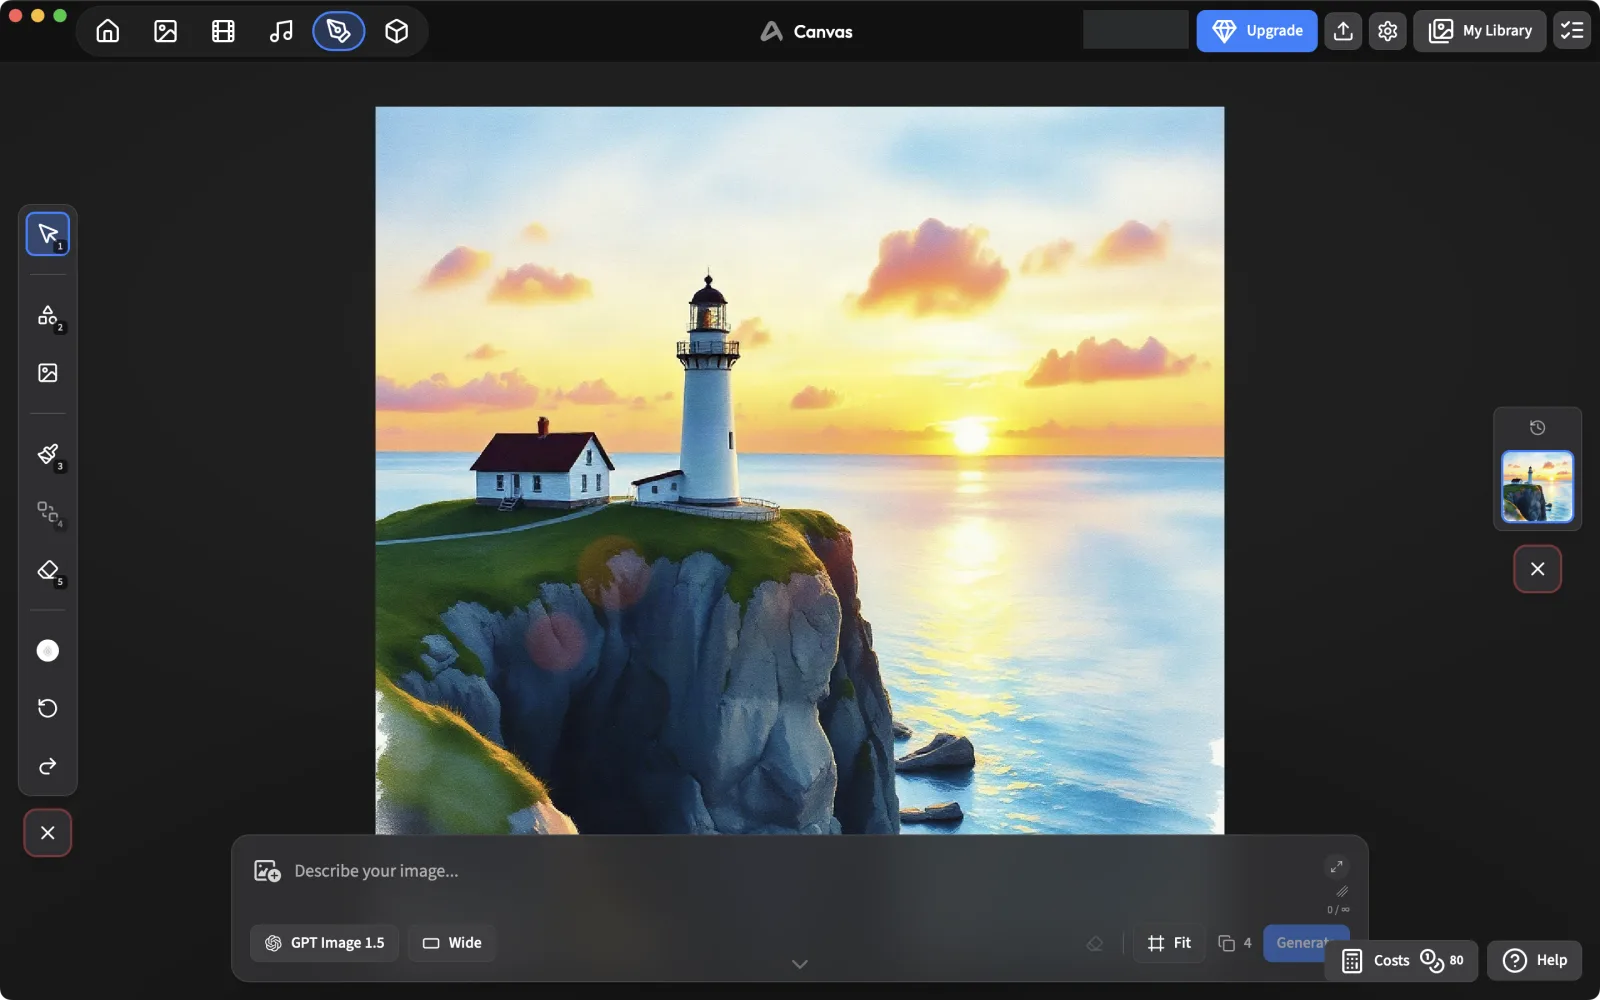
The left toolbar has Select (1), Shapes (2), Image (adds an image layer), Brush (3), Mask (4) and Eraser (5), plus undo and redo. There is no layers panel: layers are objects you move and resize on the canvas.
Add and cut out a second image
Use the Image tool to add another picture. We added a public-domain painting of a man in a coat. Right-click it and choose Remove background. It took about 11 seconds and gave a clean cut-out, at no cost.
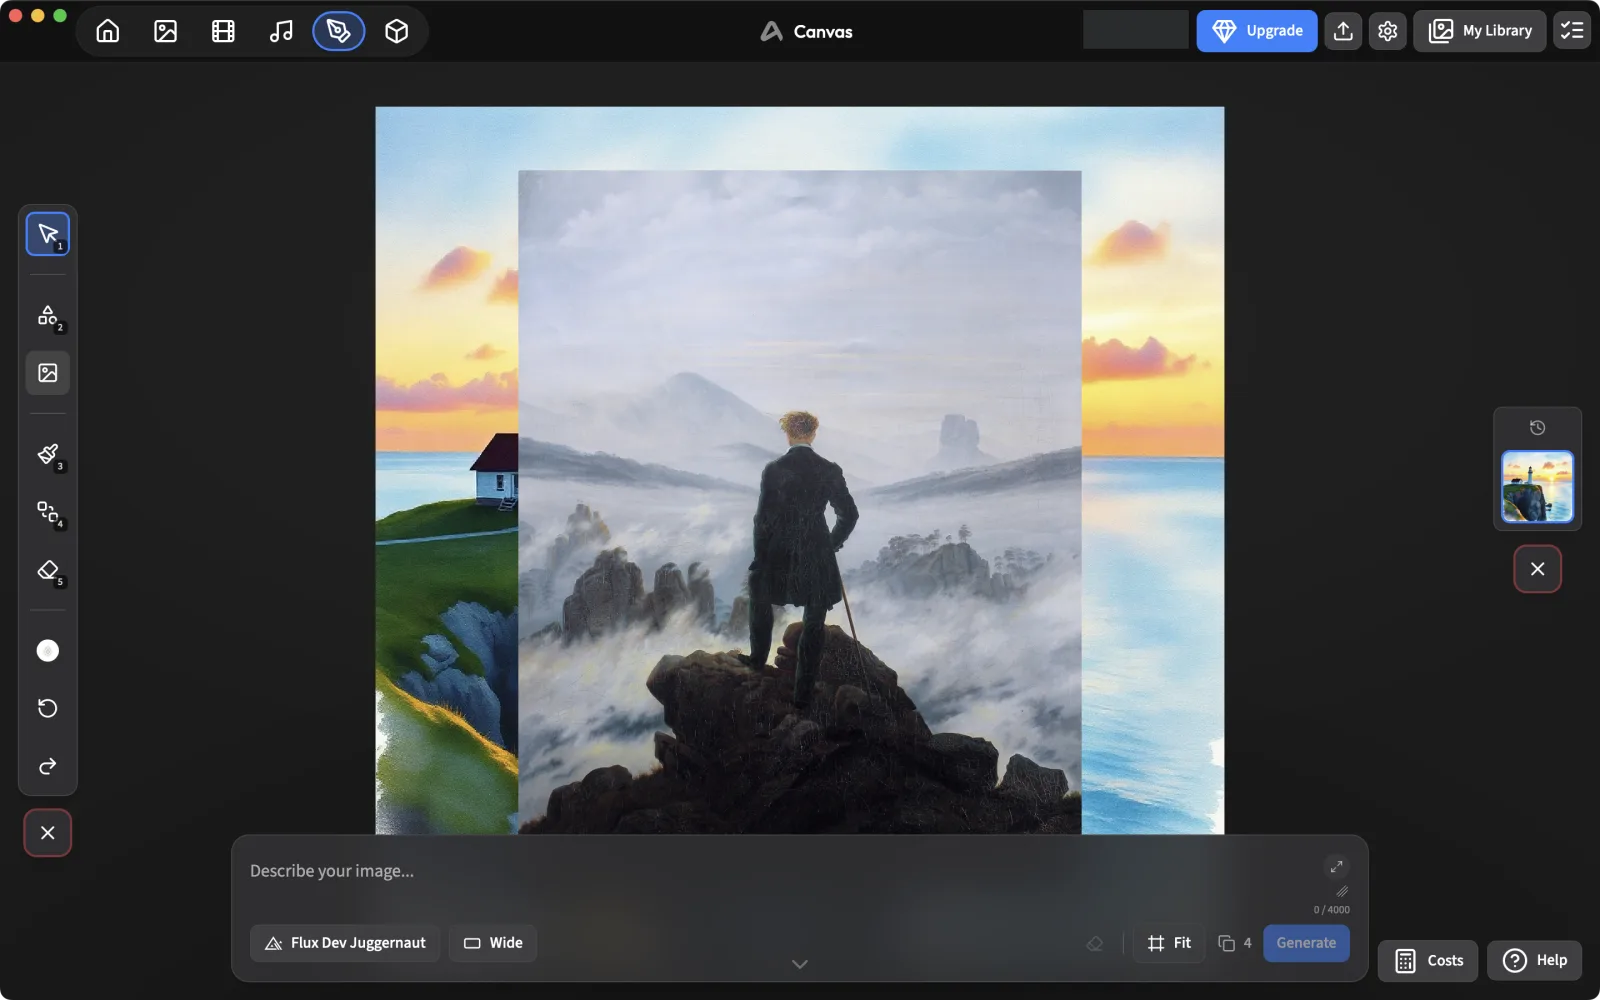
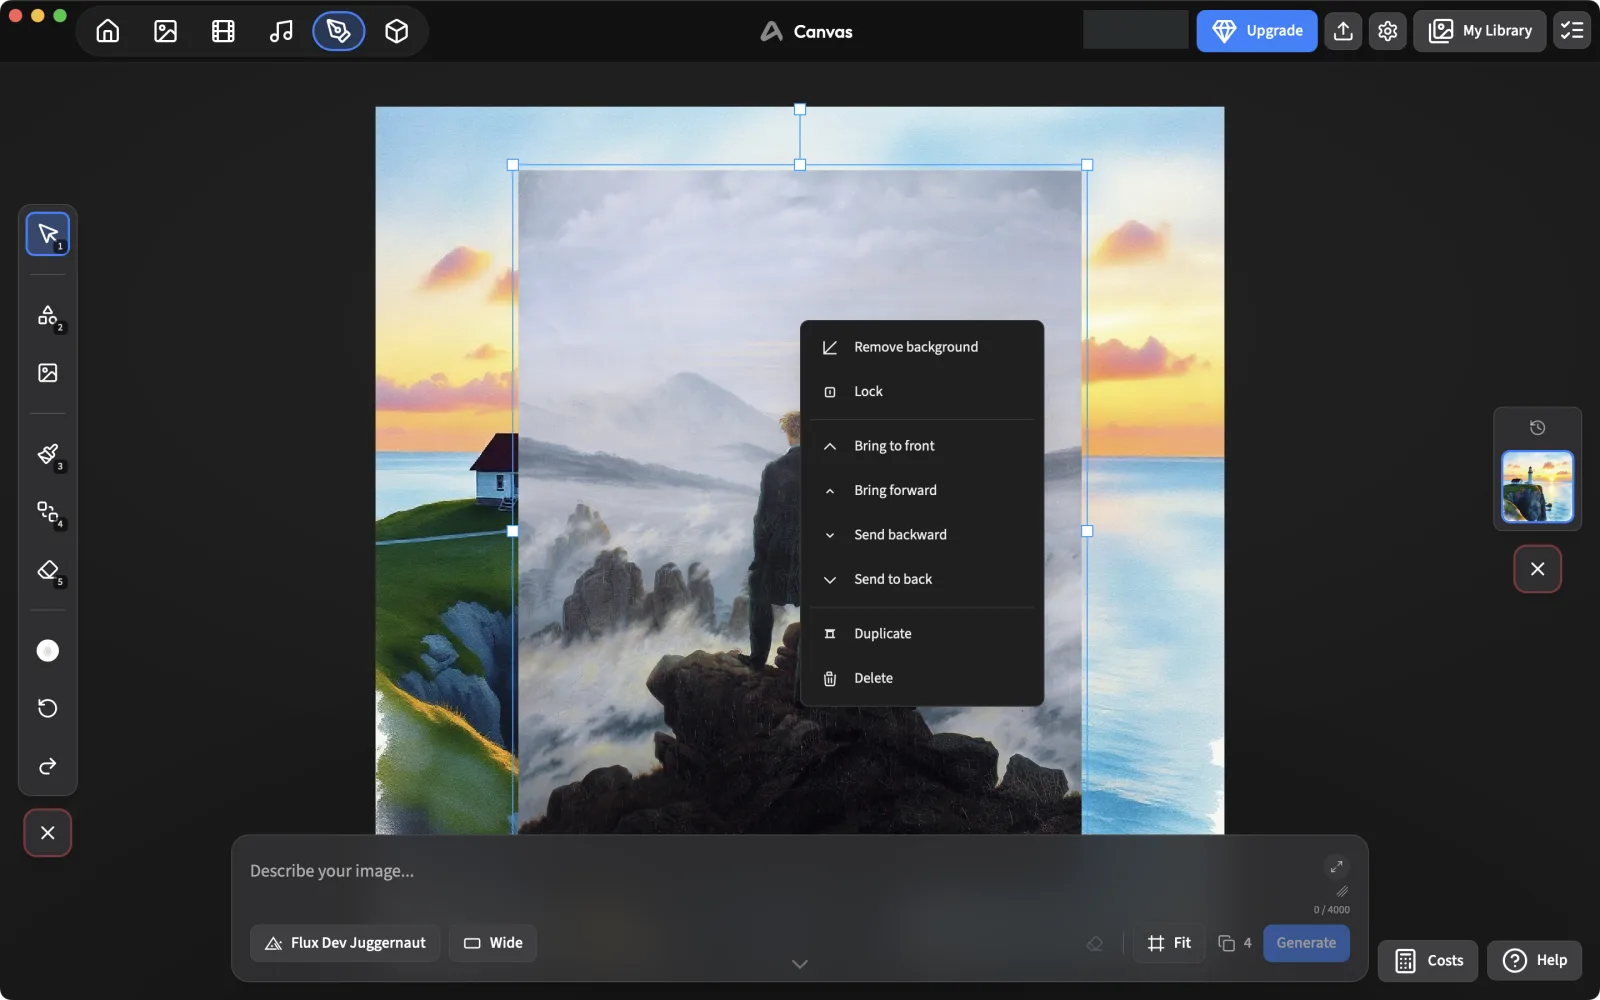
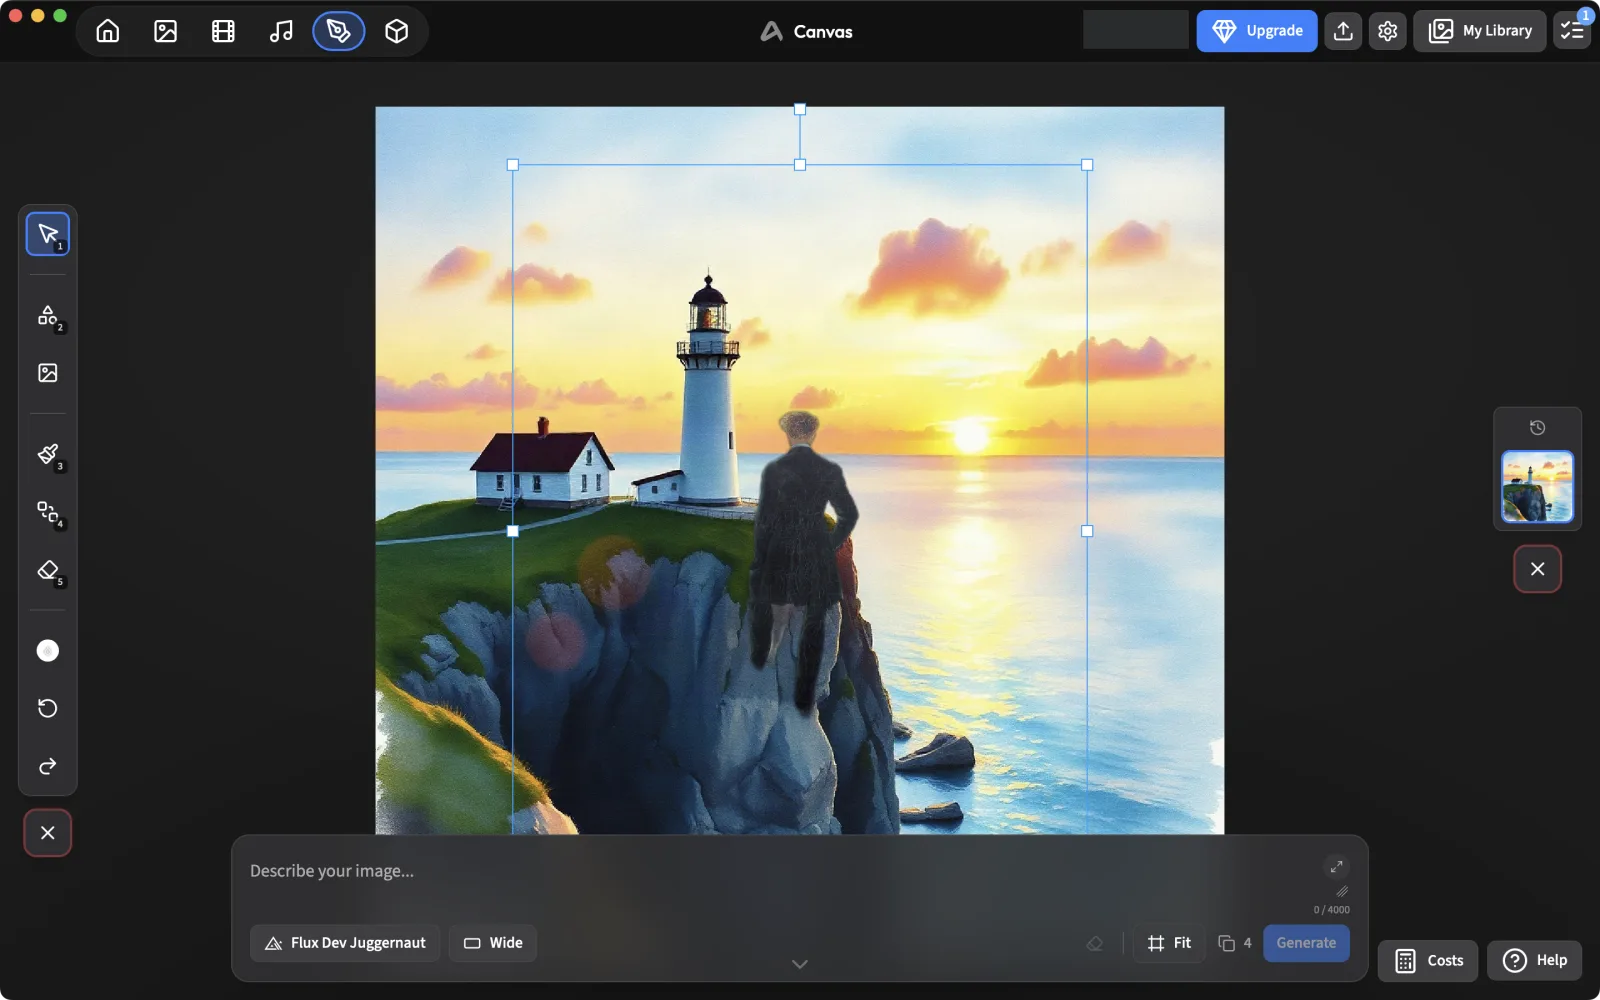
Drag the handles to scale the figure and place it where you want it in the scene.
Generate from the composition
Pick an edit model at the bottom. The canvas default, GPT Image 1.5, costs 80 credits; Flux Dev Juggernaut had no listed cost, so we used it. Describe the result you want and generate.
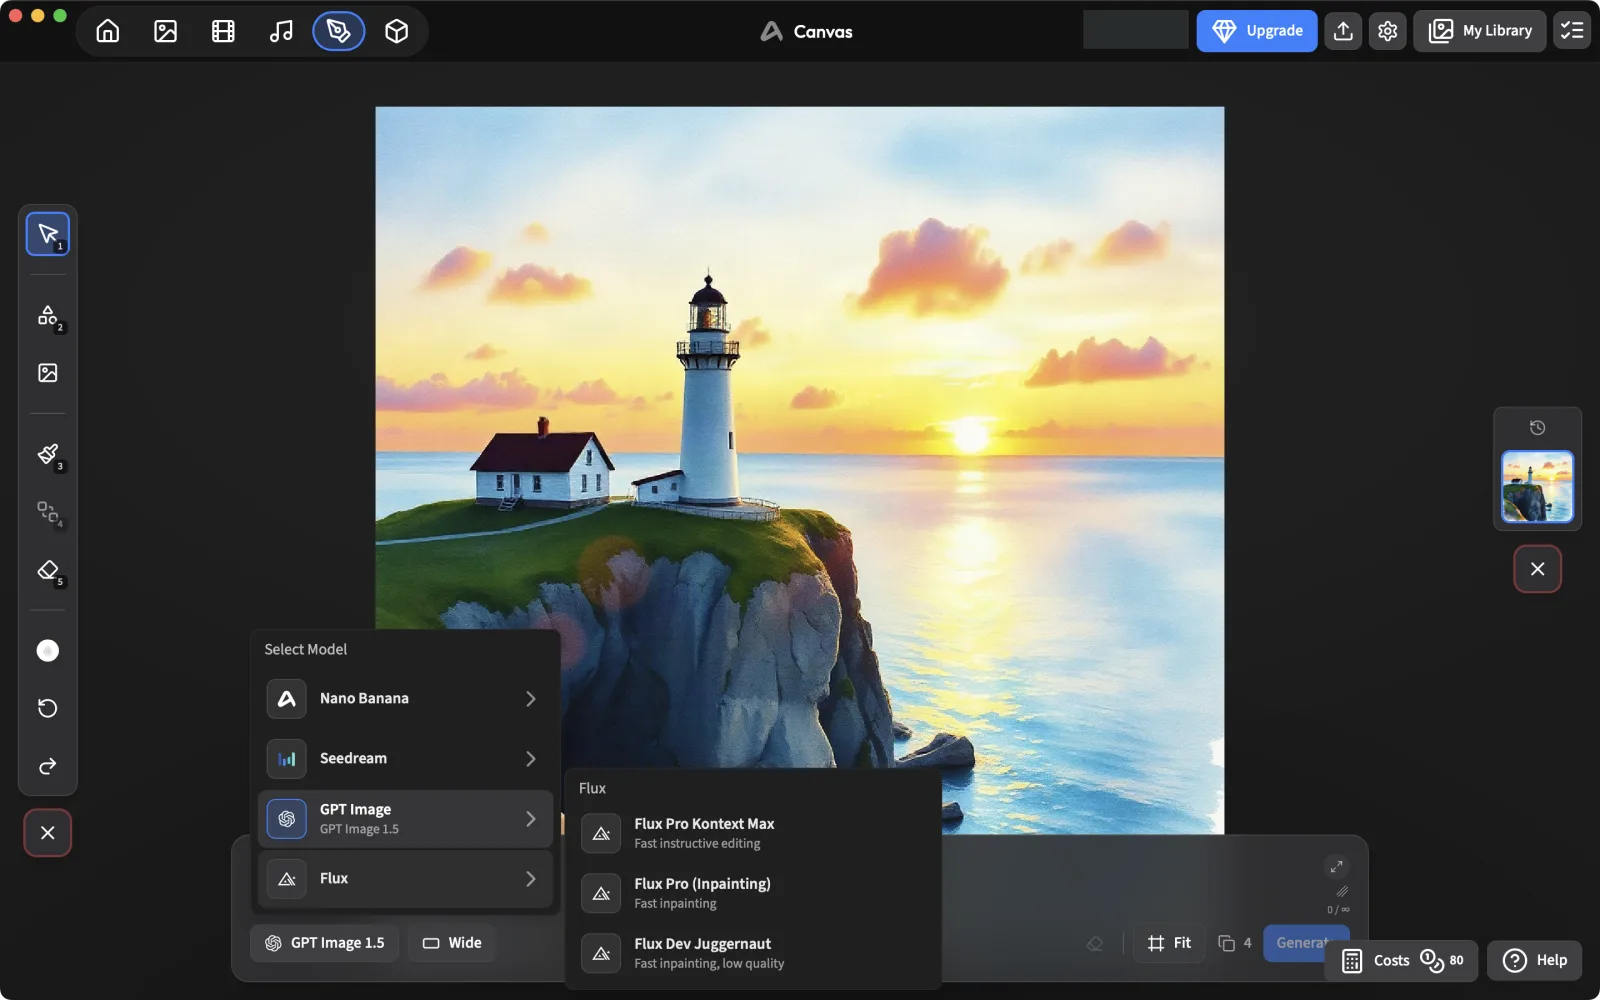
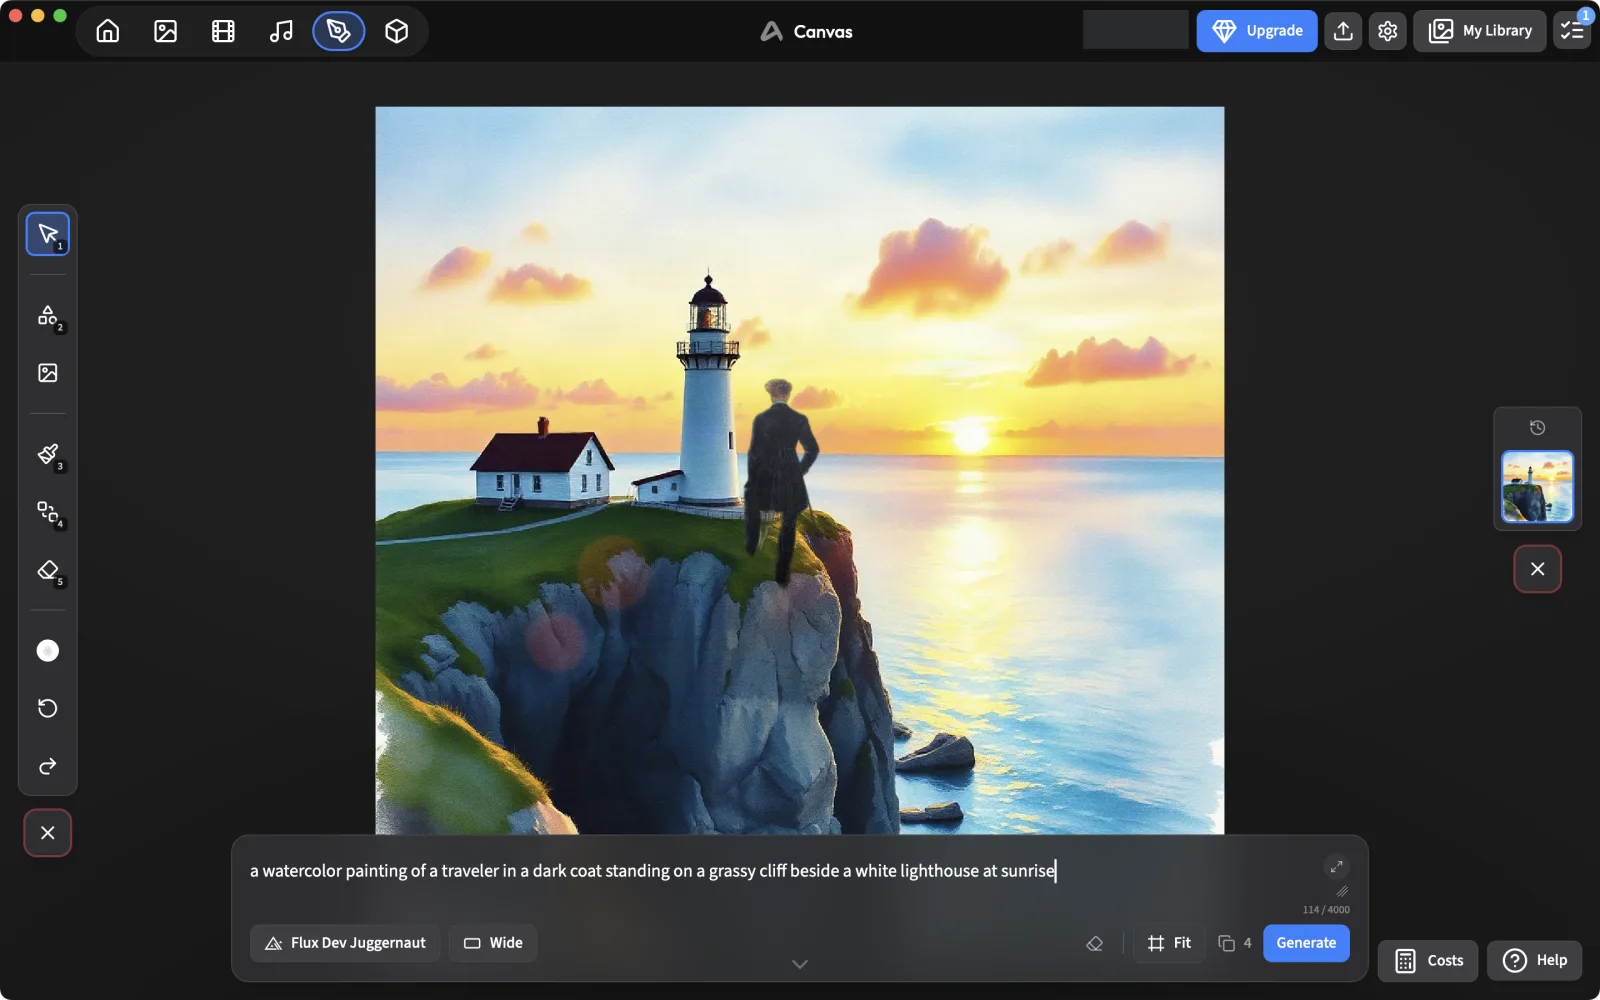
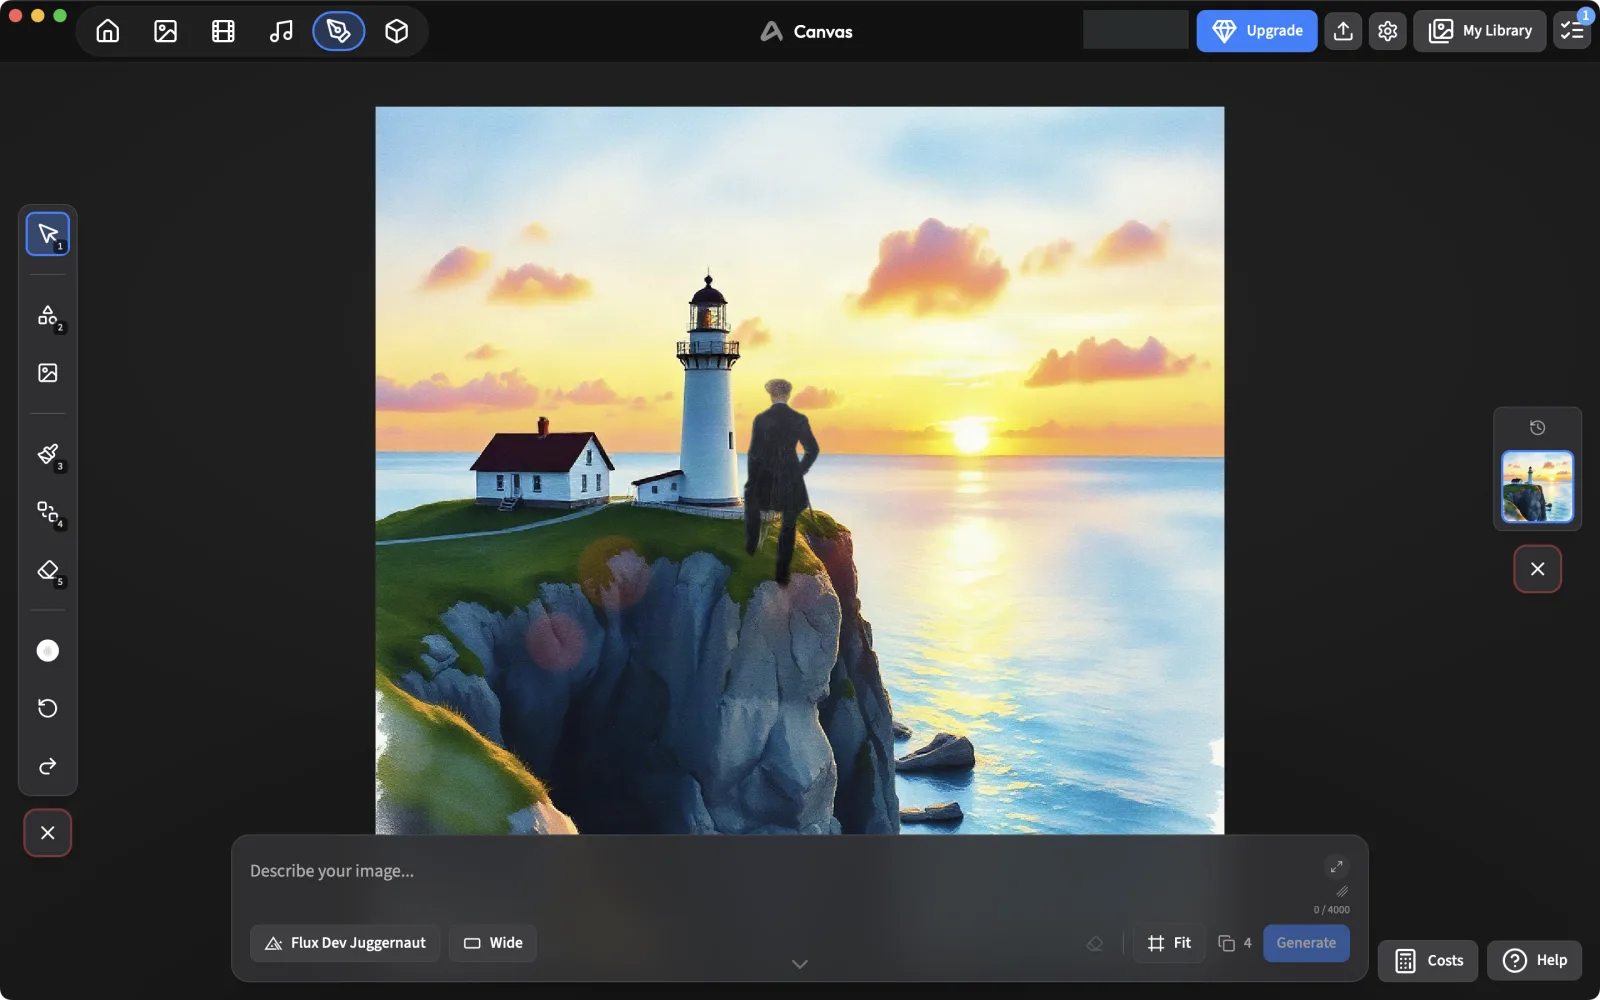
What happened: after about three minutes, Flux Dev Juggernaut returned the lighthouse re-rendered in watercolour, without the figure we had placed.
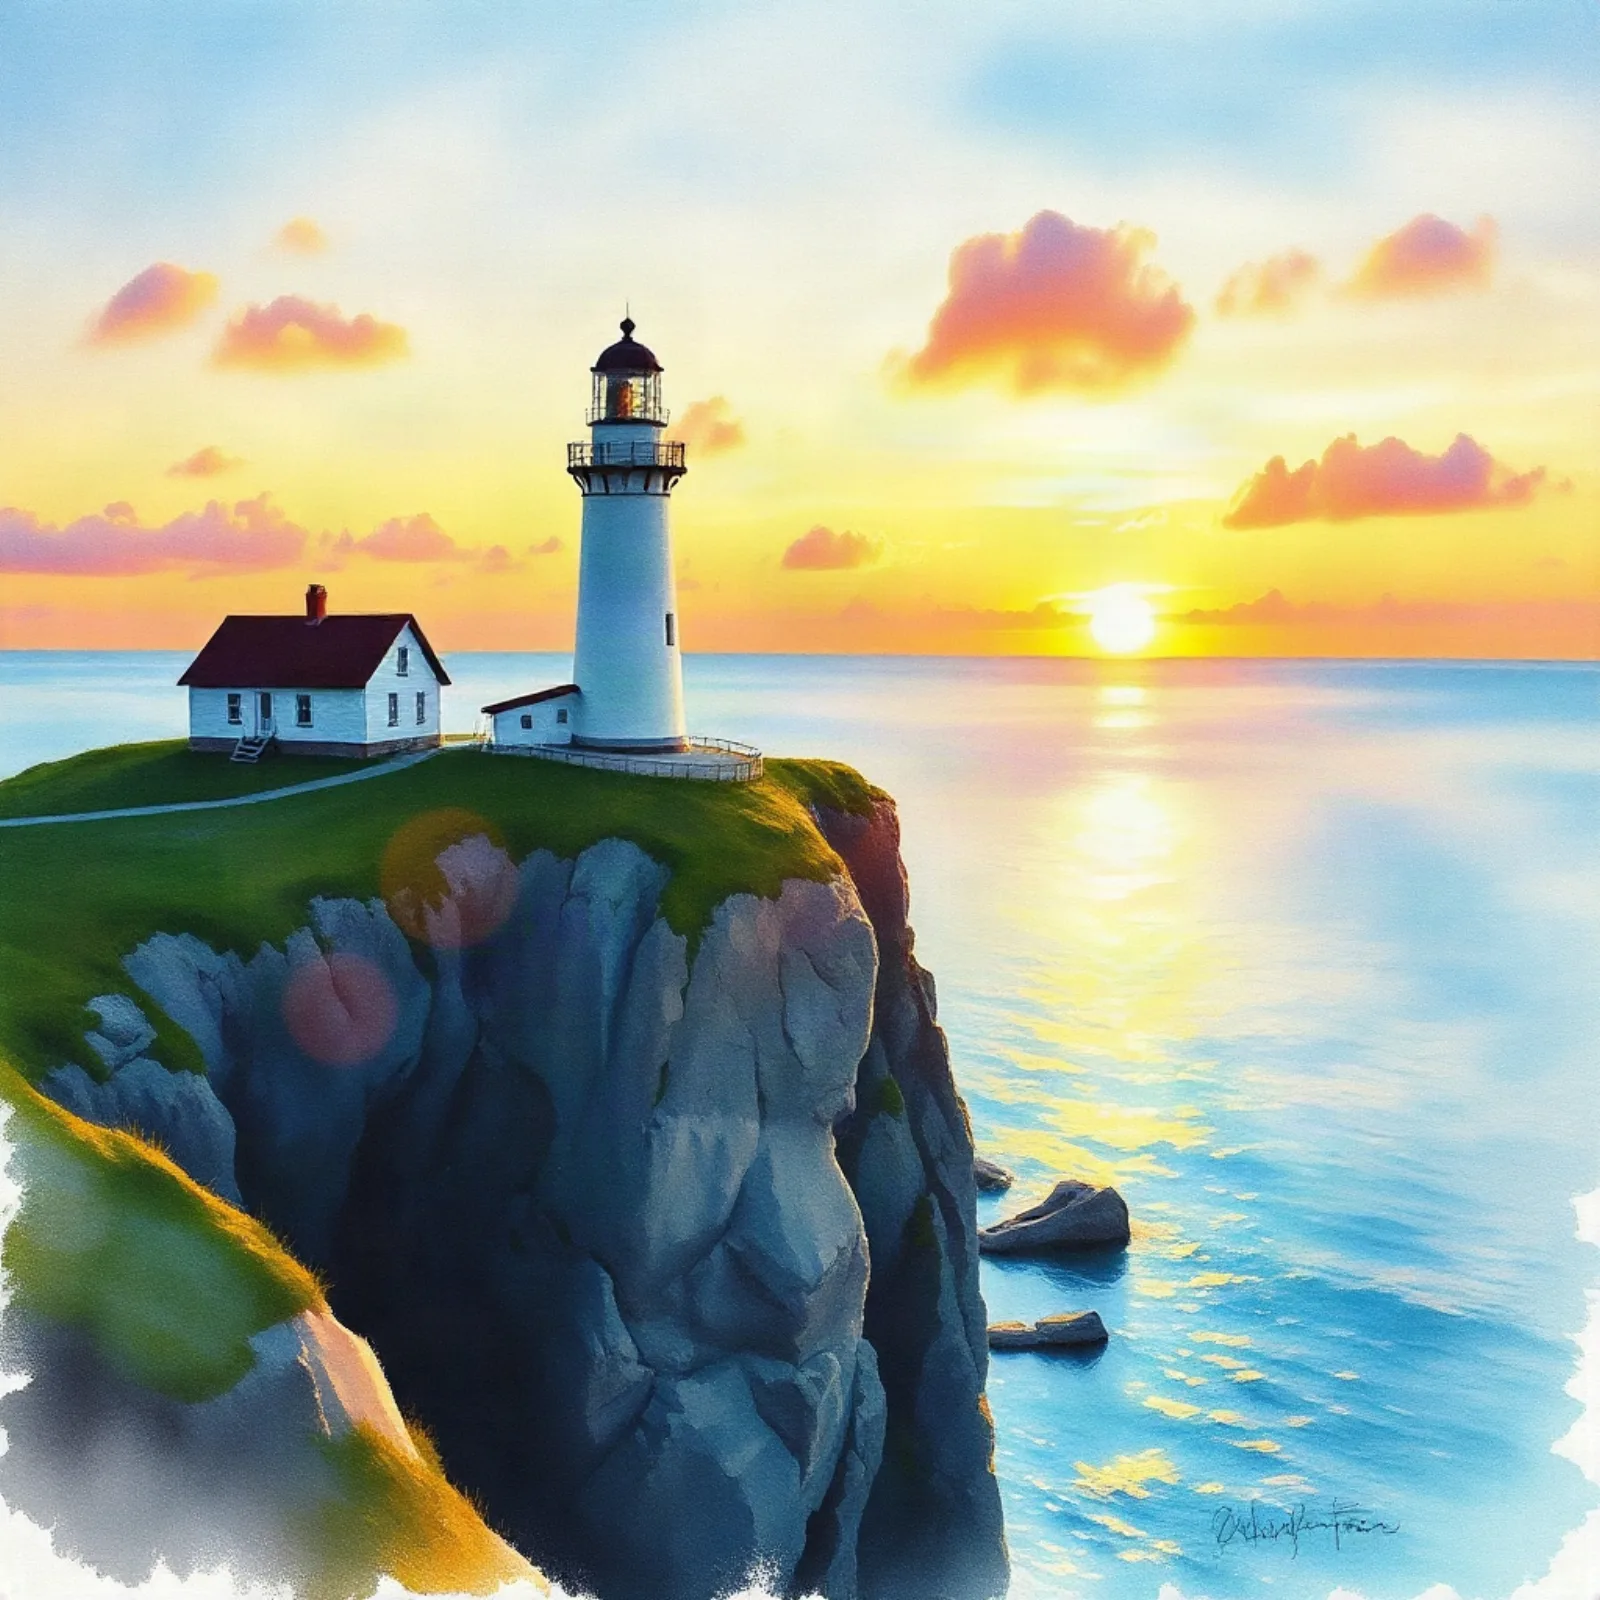
Lesson: with this model, an edit without a mask mostly ignores what you pasted. Paint a Mask (tool 4) over the area you want changed, as in Part 2, or try a stronger (paid) edit model.
Part 2: the 3D stage
Block the scene
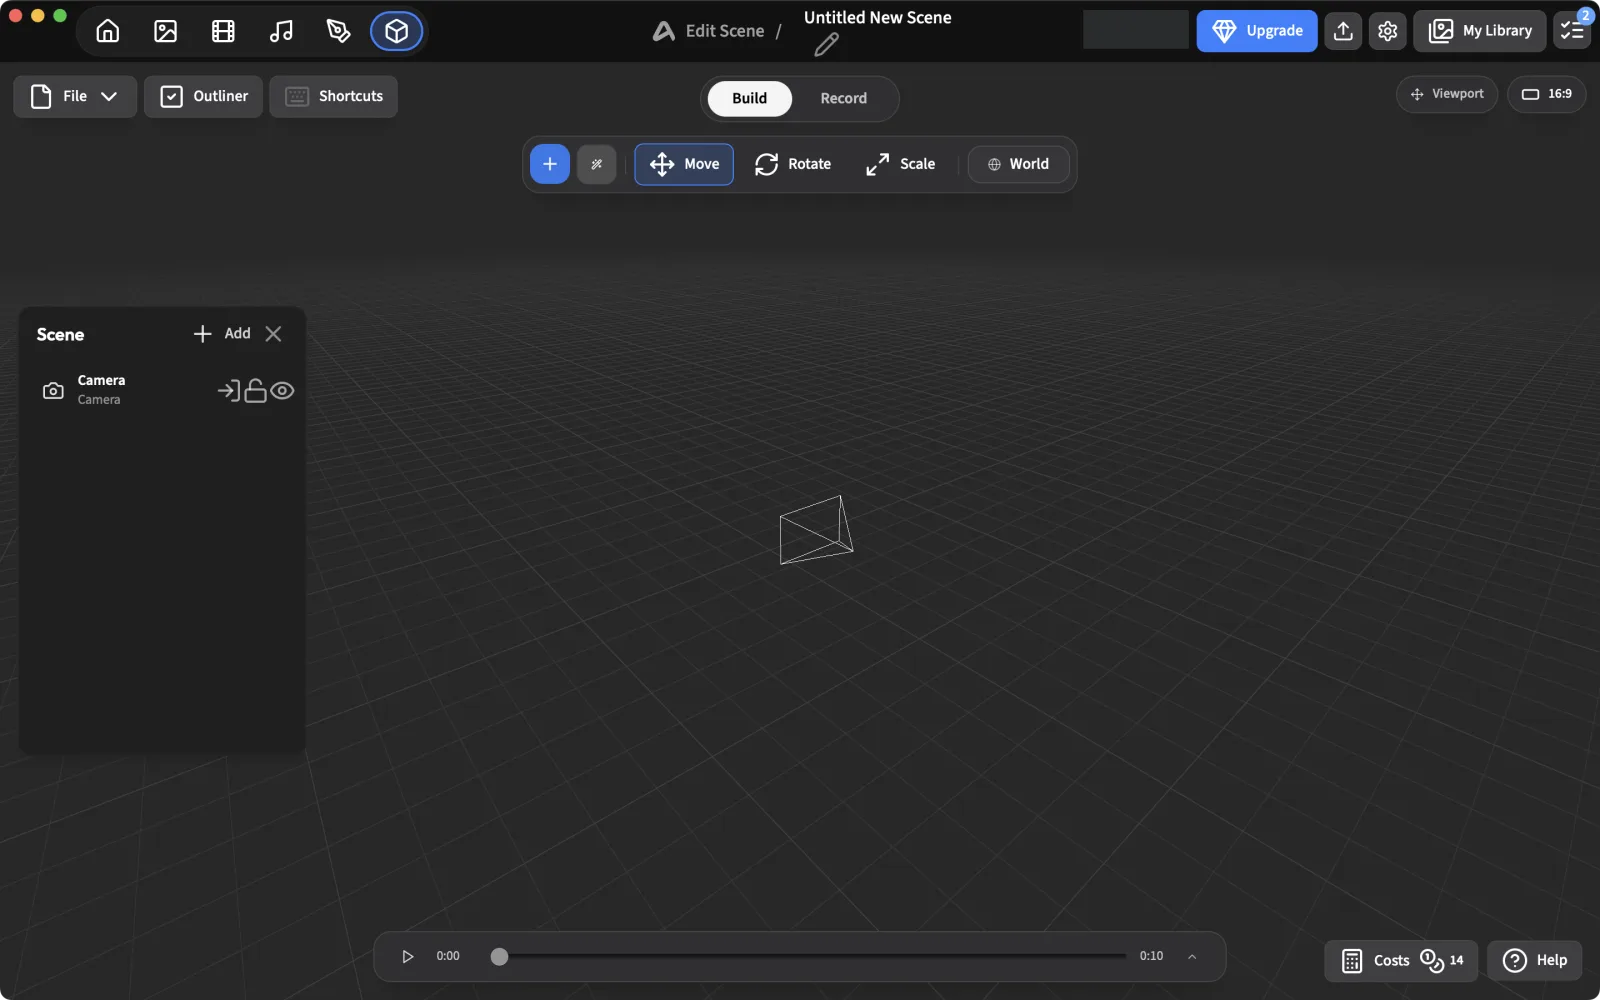
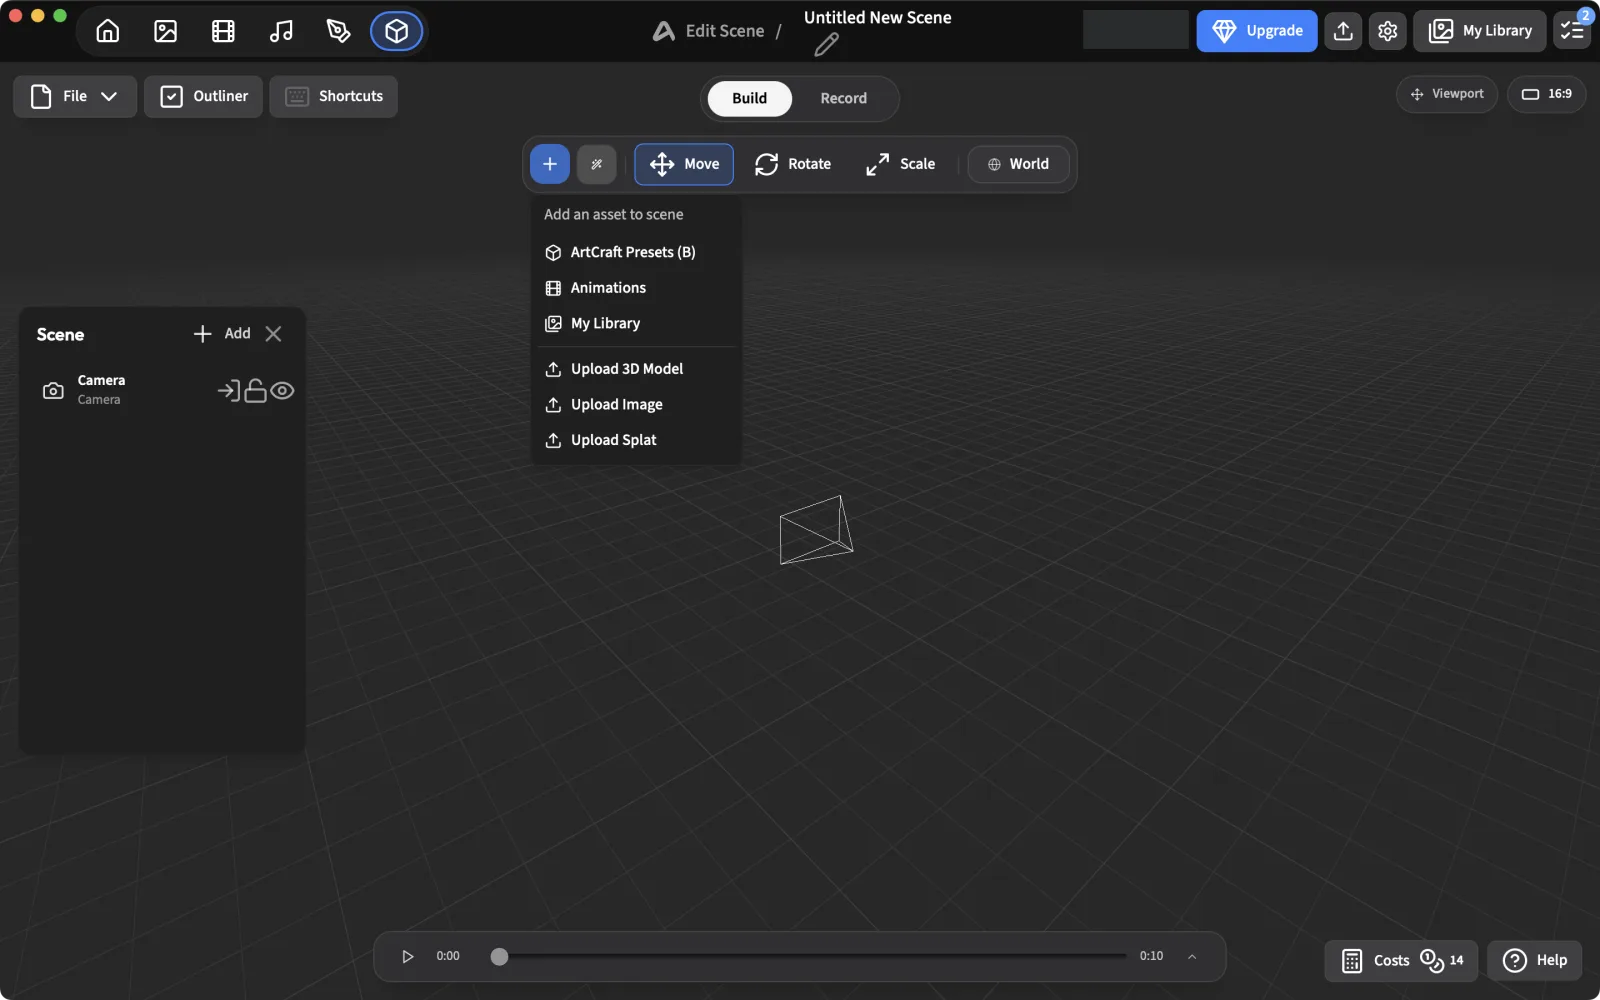
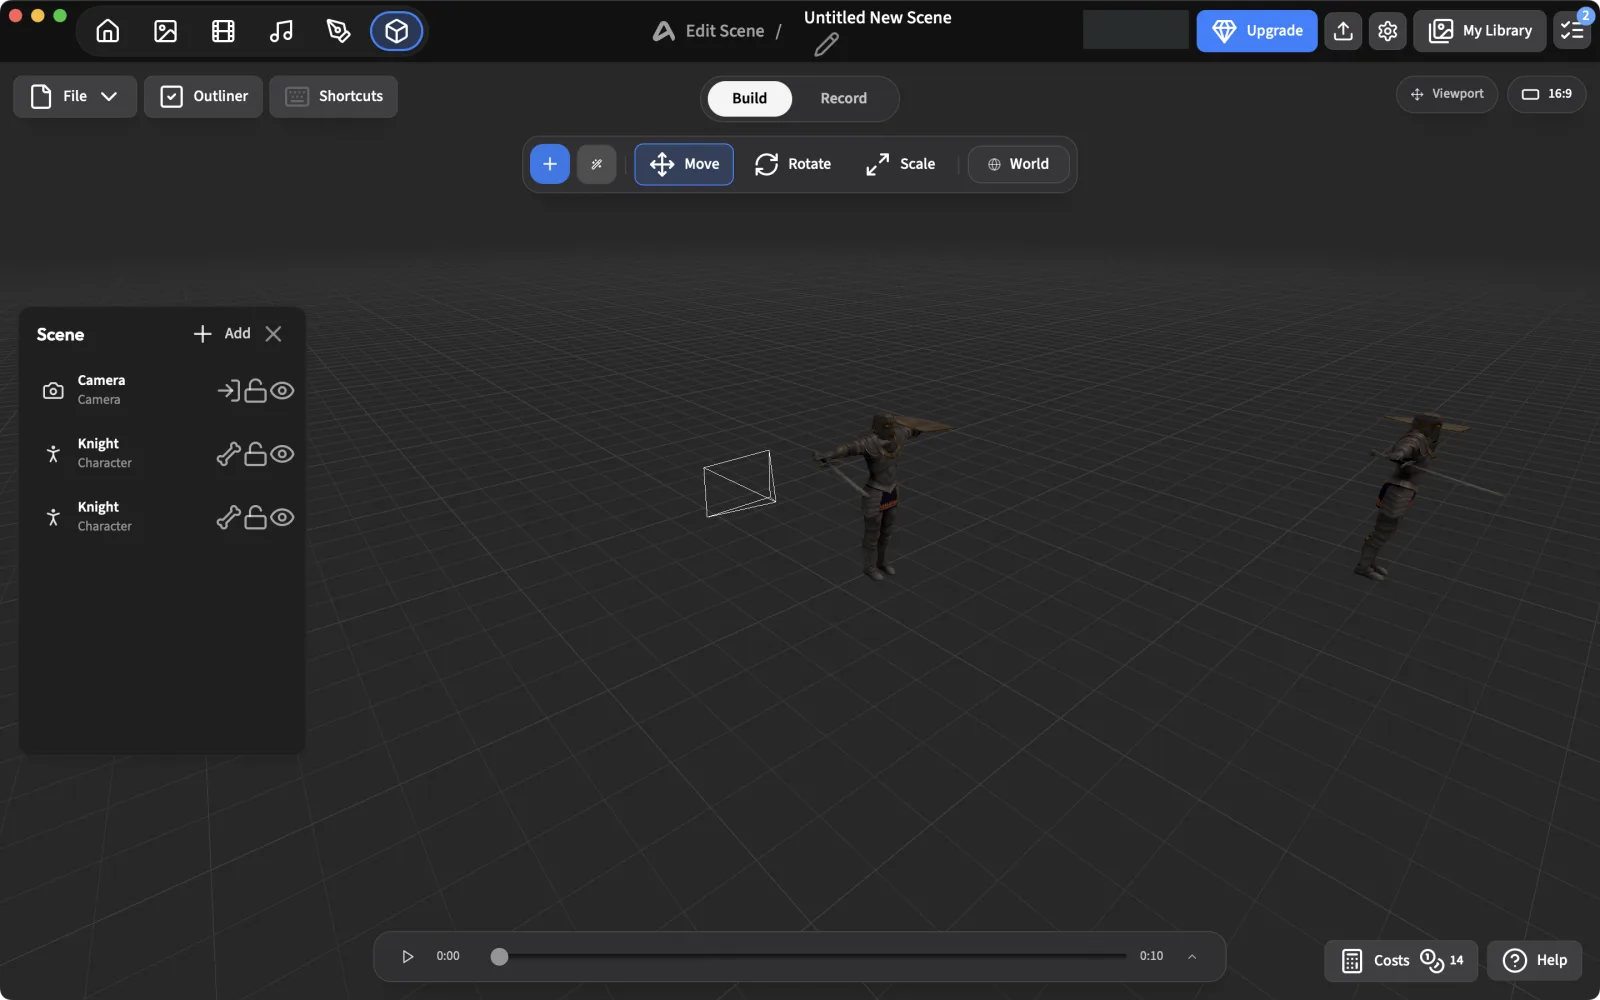
Open the 3D stage (cube icon). The + button opens Add an asset to scene: ArtCraft Presets, Animations, your library, or your own 3D models, images and Gaussian splats.
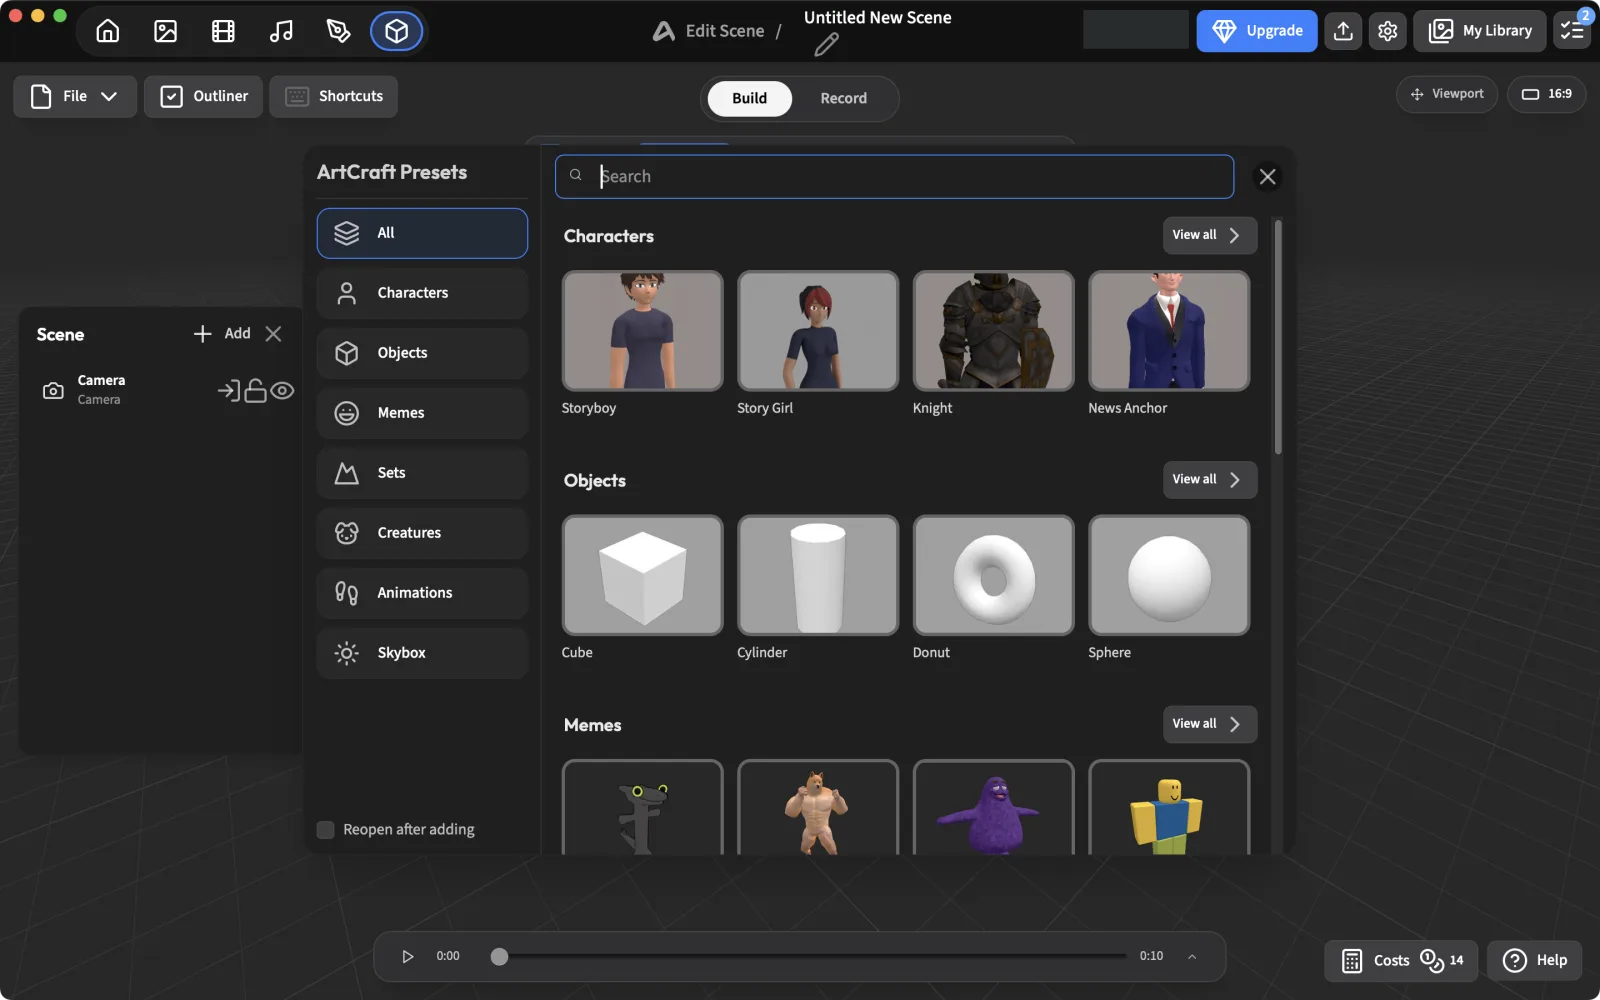
The presets include characters, objects, sets, creatures and skyboxes; drag one into the scene. We added two Knight characters.
Set up the camera
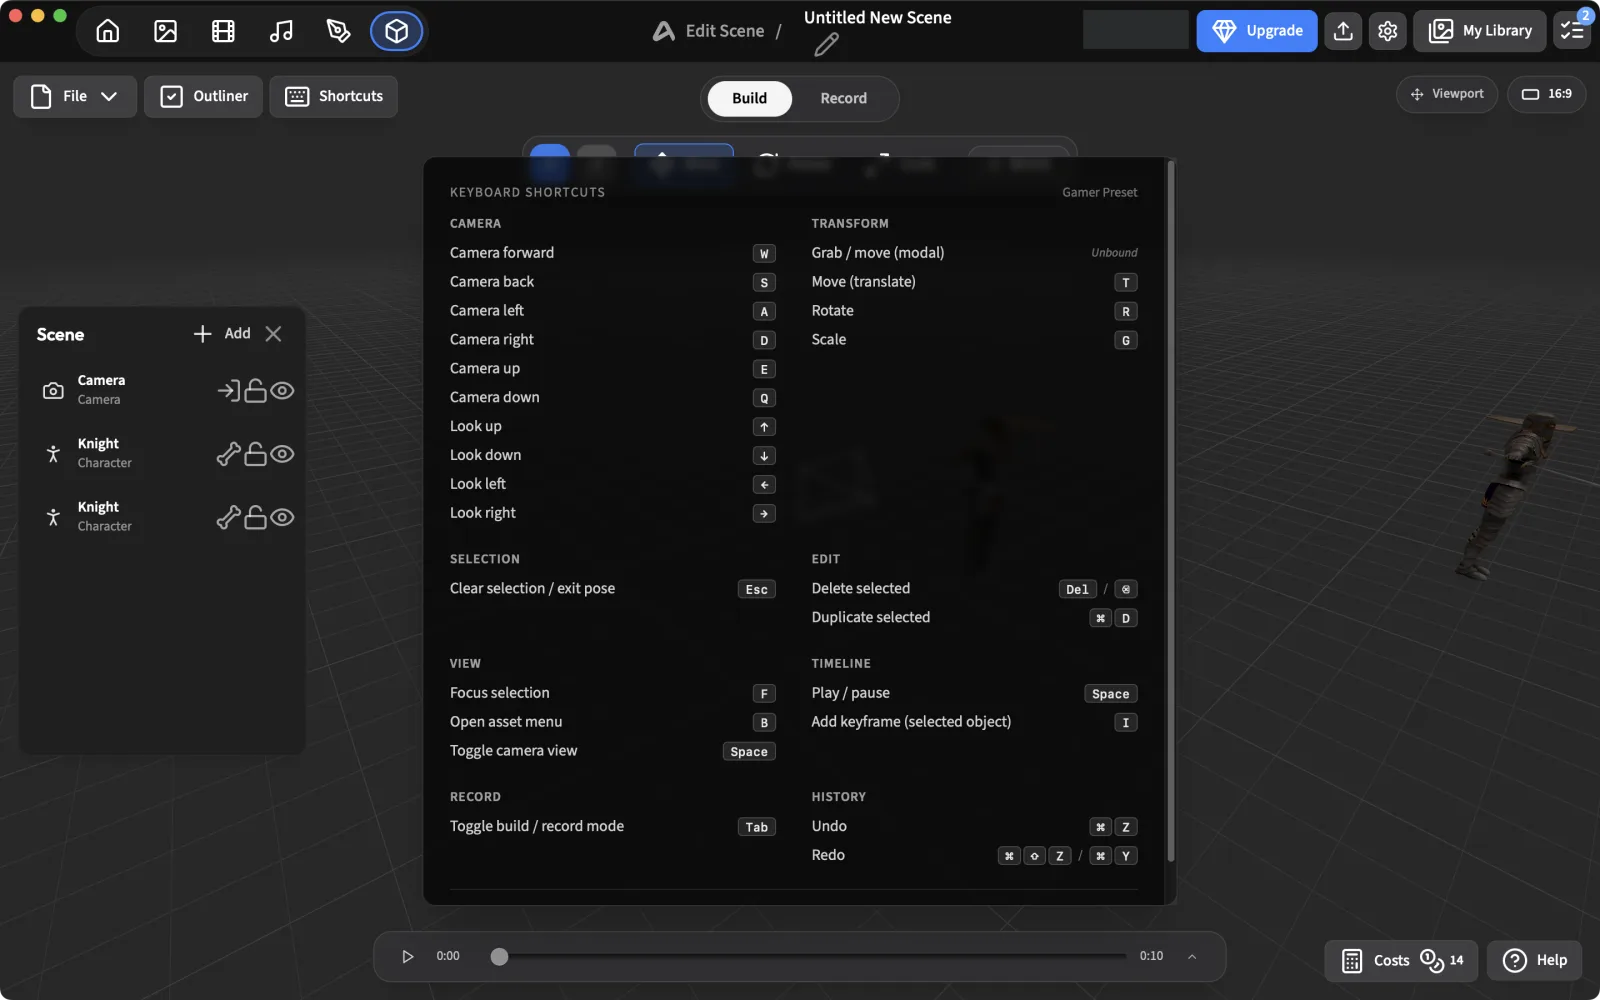
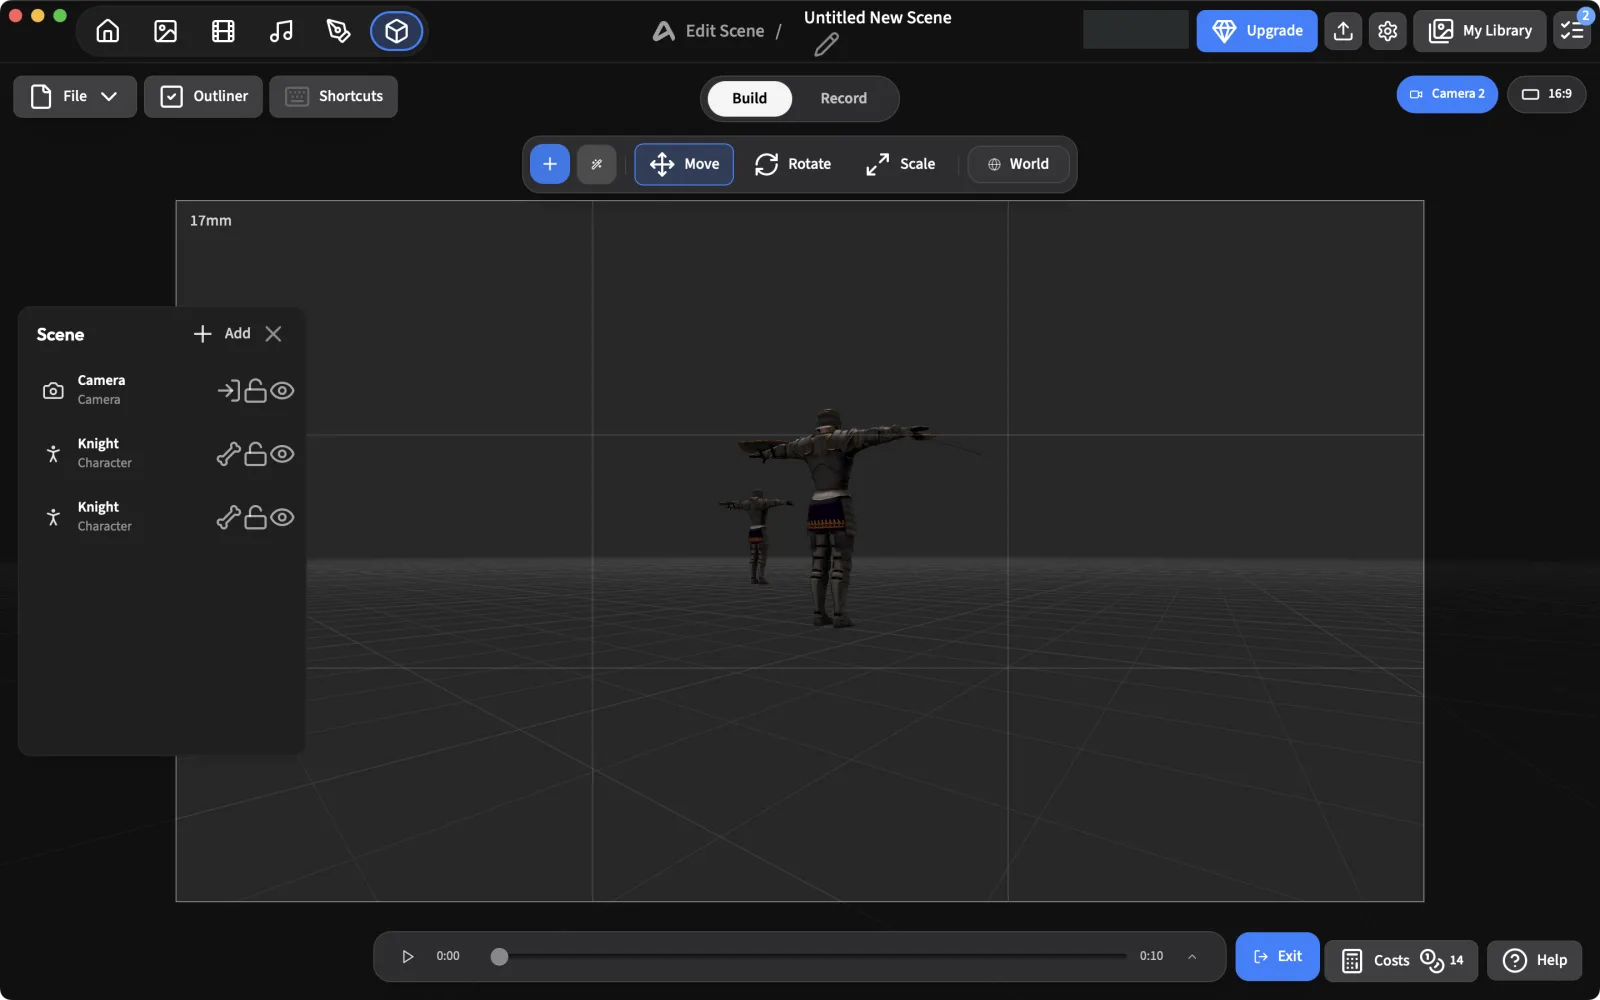
Press Shortcuts to see the controls: WASD/QE to move the camera, arrow keys to look around, Tab for record mode. Frame the shot through the scene camera.
Capture and turn it into an image
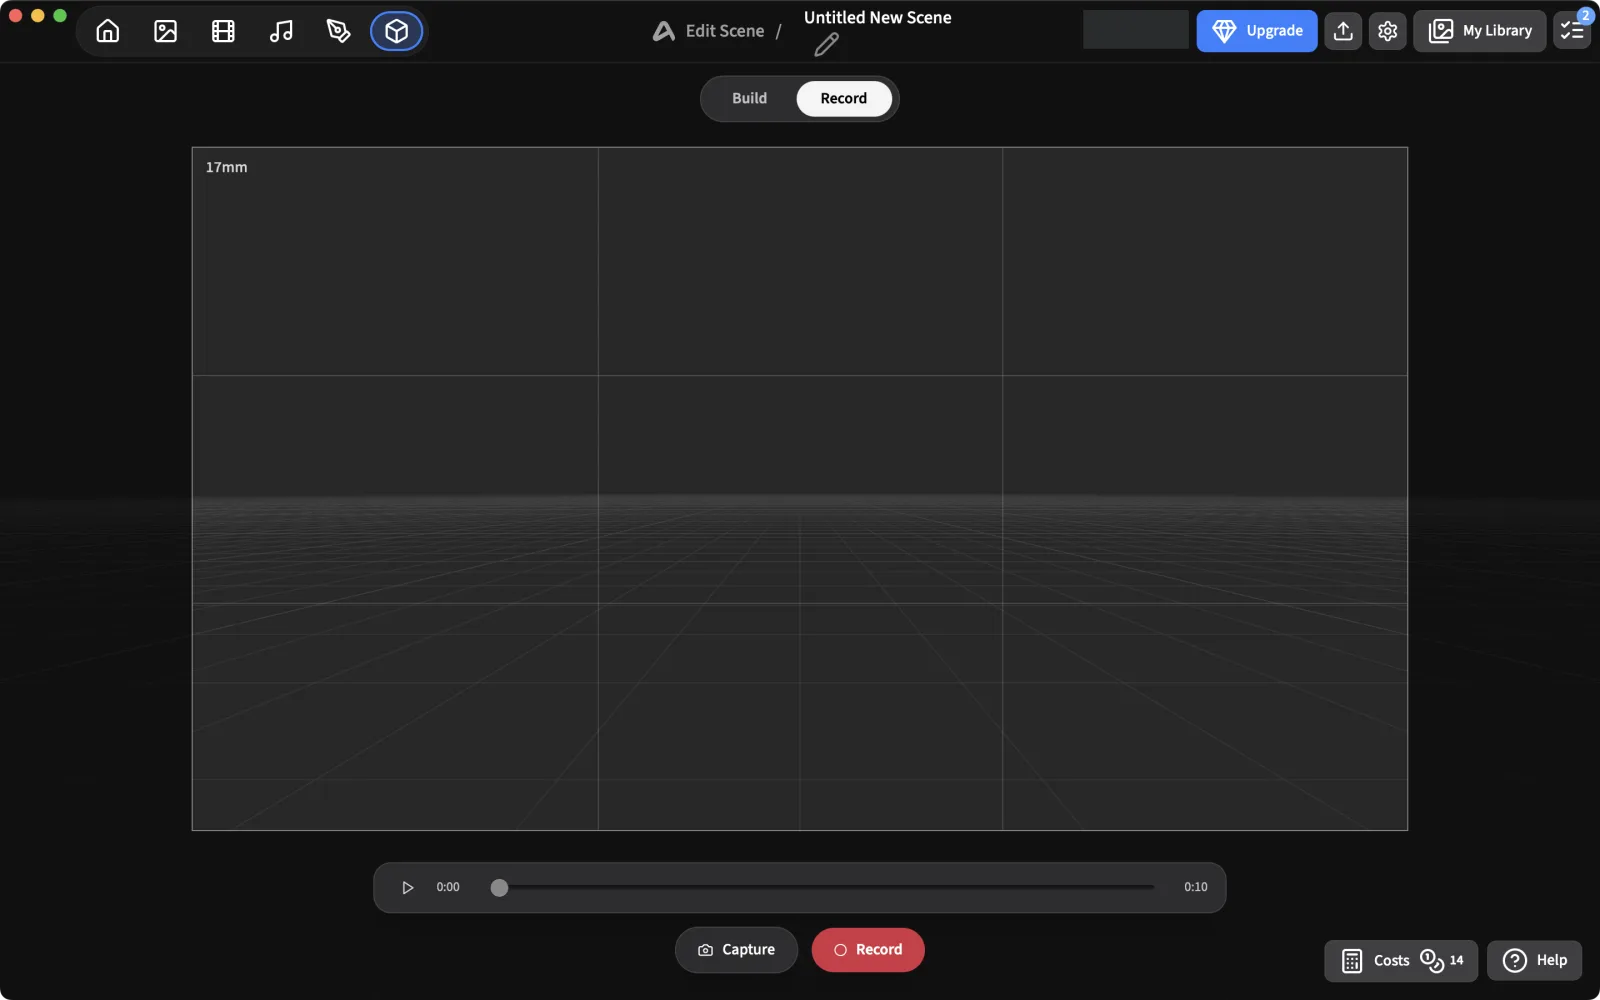
Switch to Record and press Capture. The still opens with actions: Edit Image, Make Video, Remove BG, Make 3D, Make 3D World and Download.
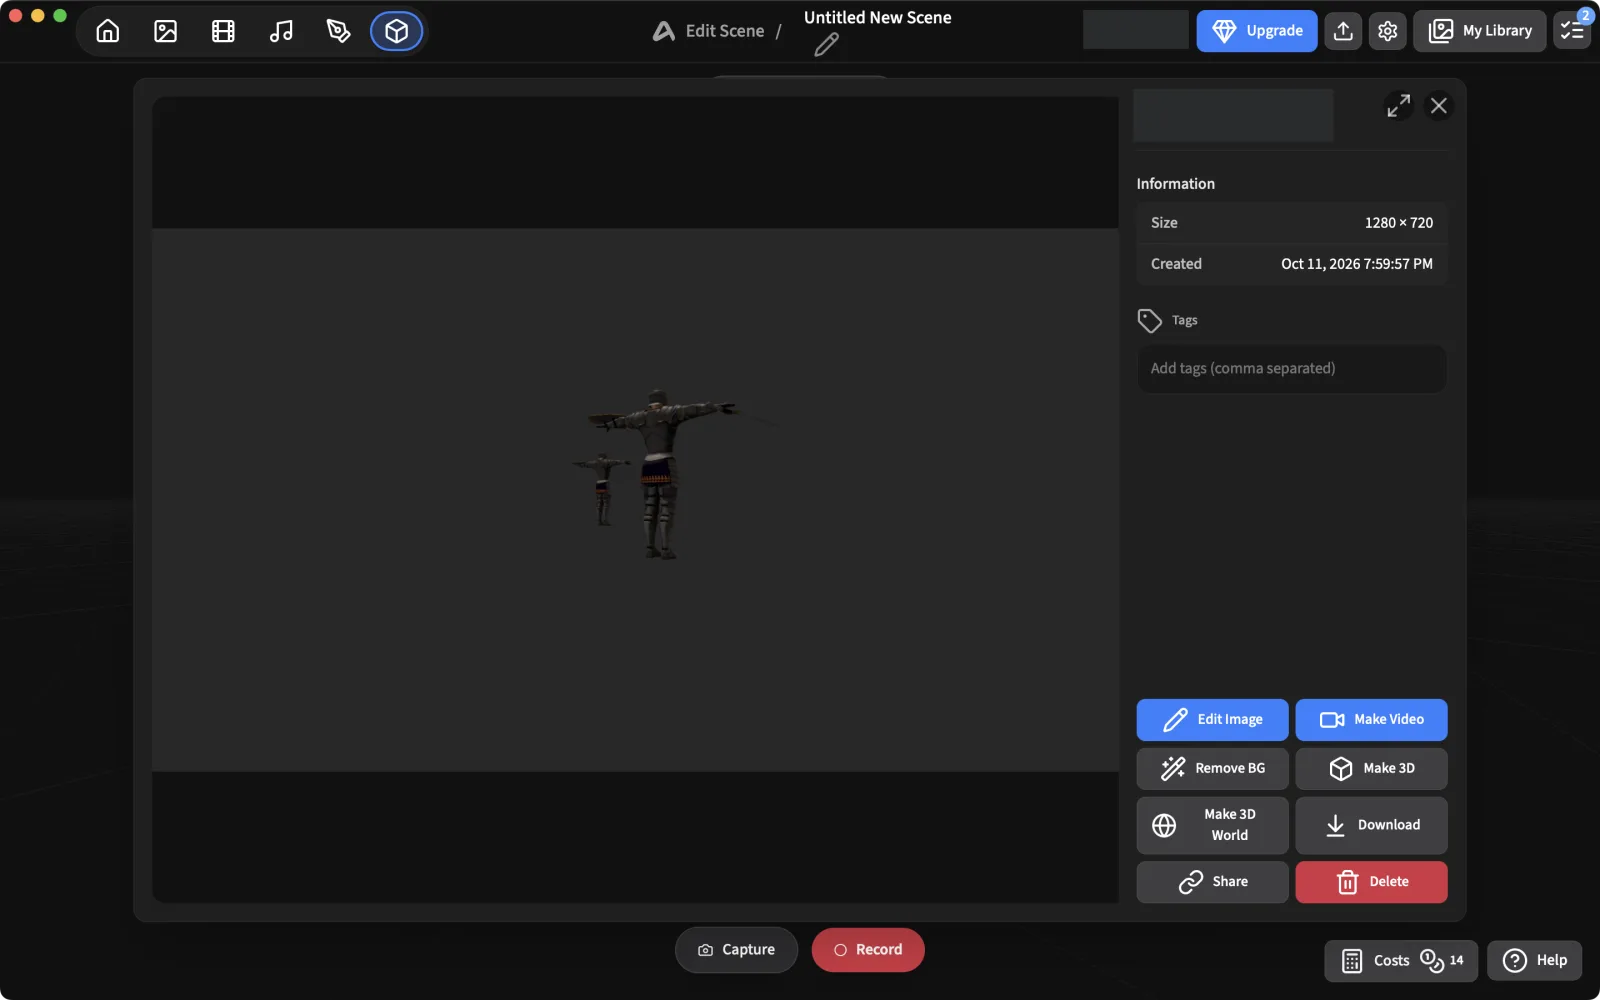
Choose Edit Image. This time, paint a Mask over everything except the characters so the model knows what to repaint. Then prompt: “two armored knights standing on a misty moor at dawn, cinematic oil painting”.
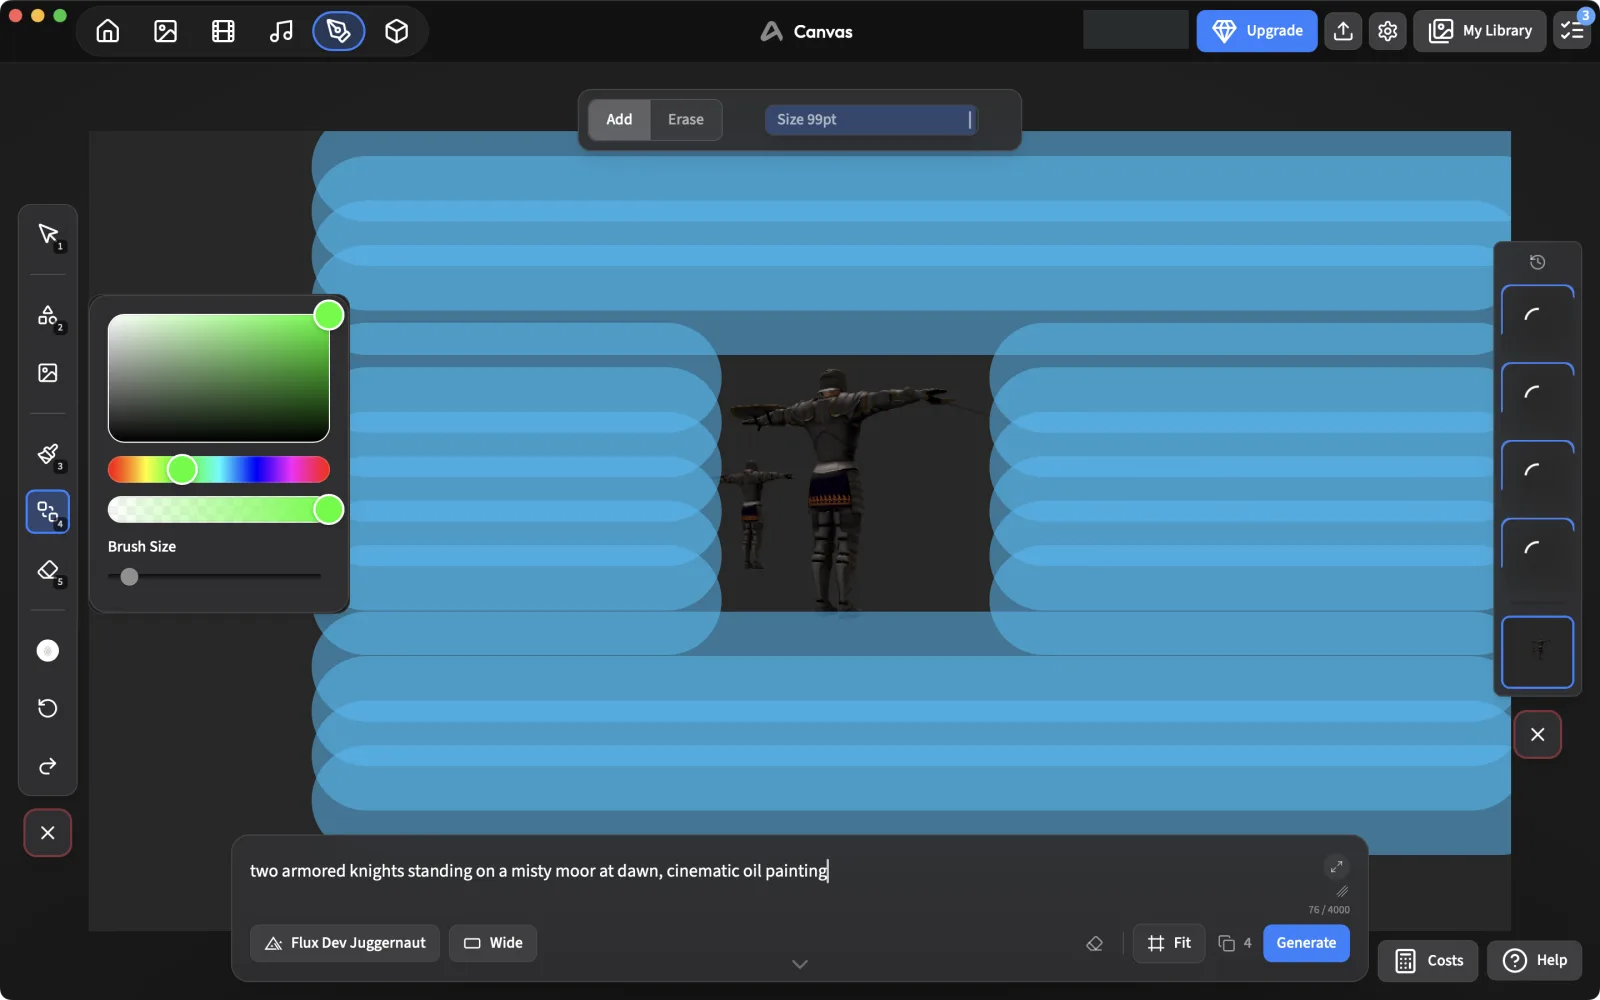
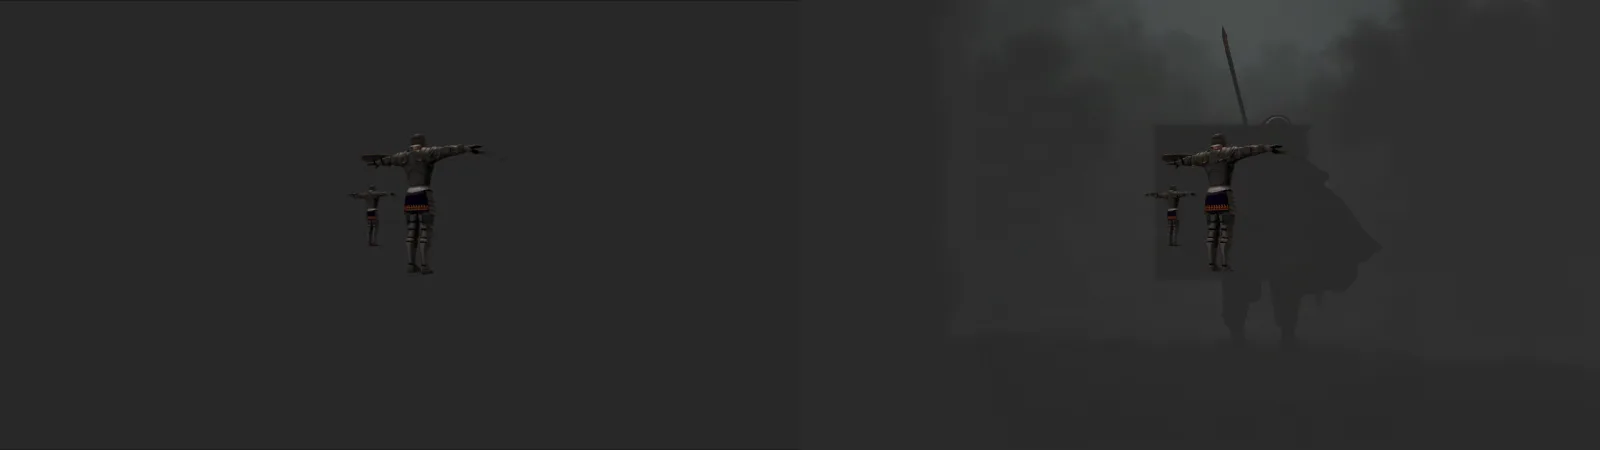
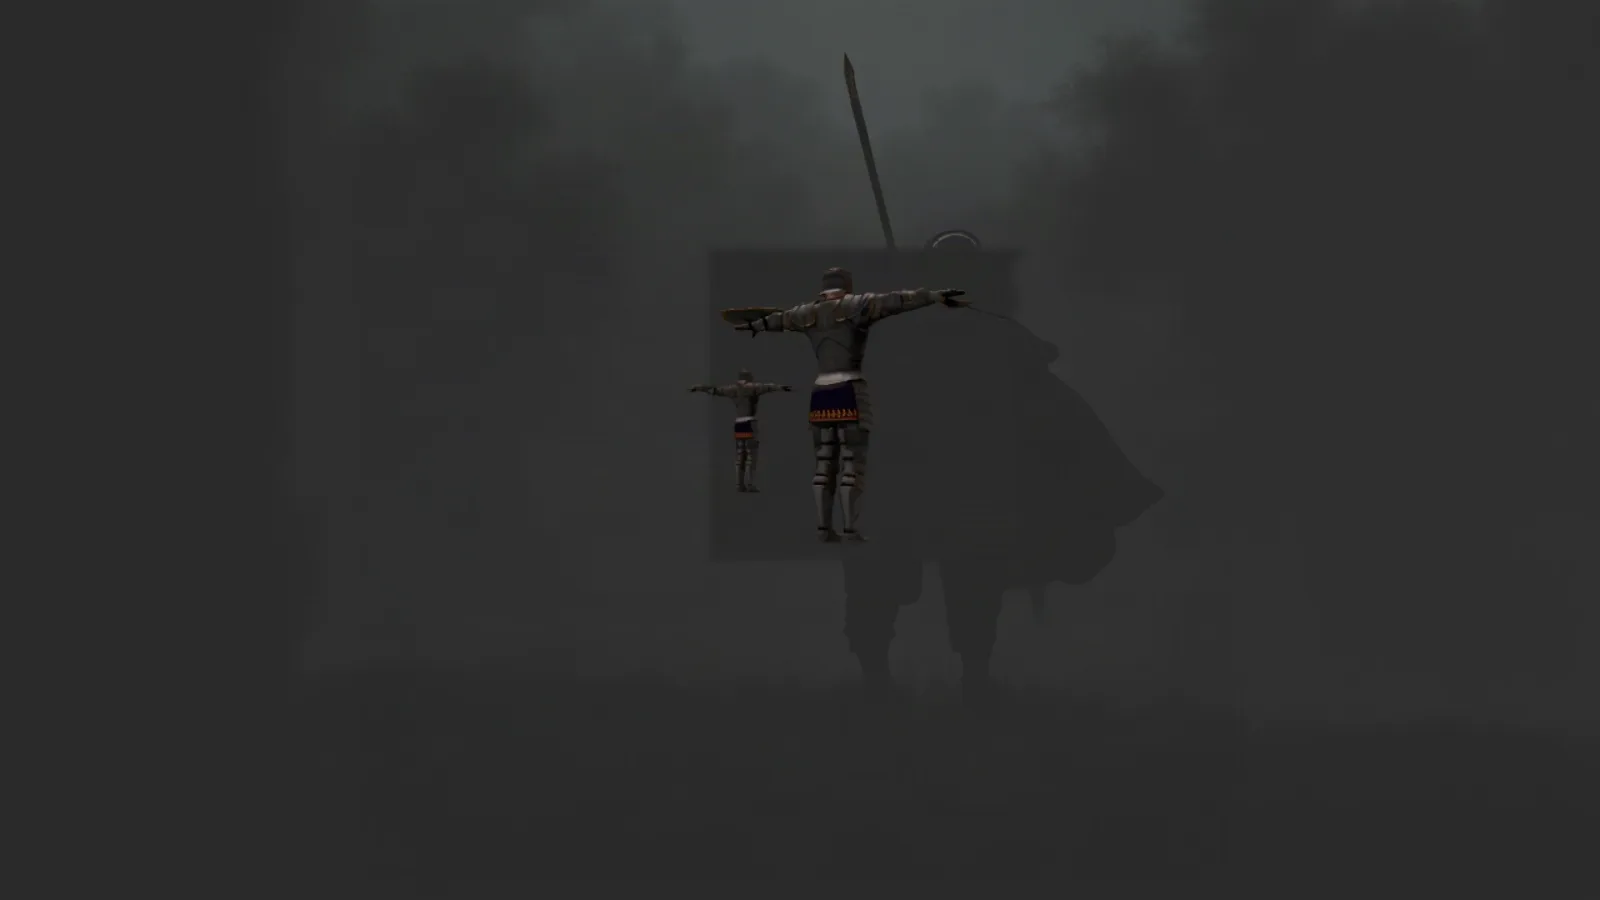
Result: with the mask, the background became a misty moor. Without it, our first try returned almost the same image. The knights themselves stayed as the untouched 3D render, still in their default T-pose, because the mask told the model to leave them alone.
What we’d do differently
- Pose the characters first. The presets start in a T-pose; use Animations or posing before you capture.
- Mask what you want changed, including the characters if you want them restyled, or run the capture through a stronger model.
- Budget for paid models if quality matters. The free Flux models are great for learning the workflow; the more capable edit models showed 14–80 credits per run in our session.
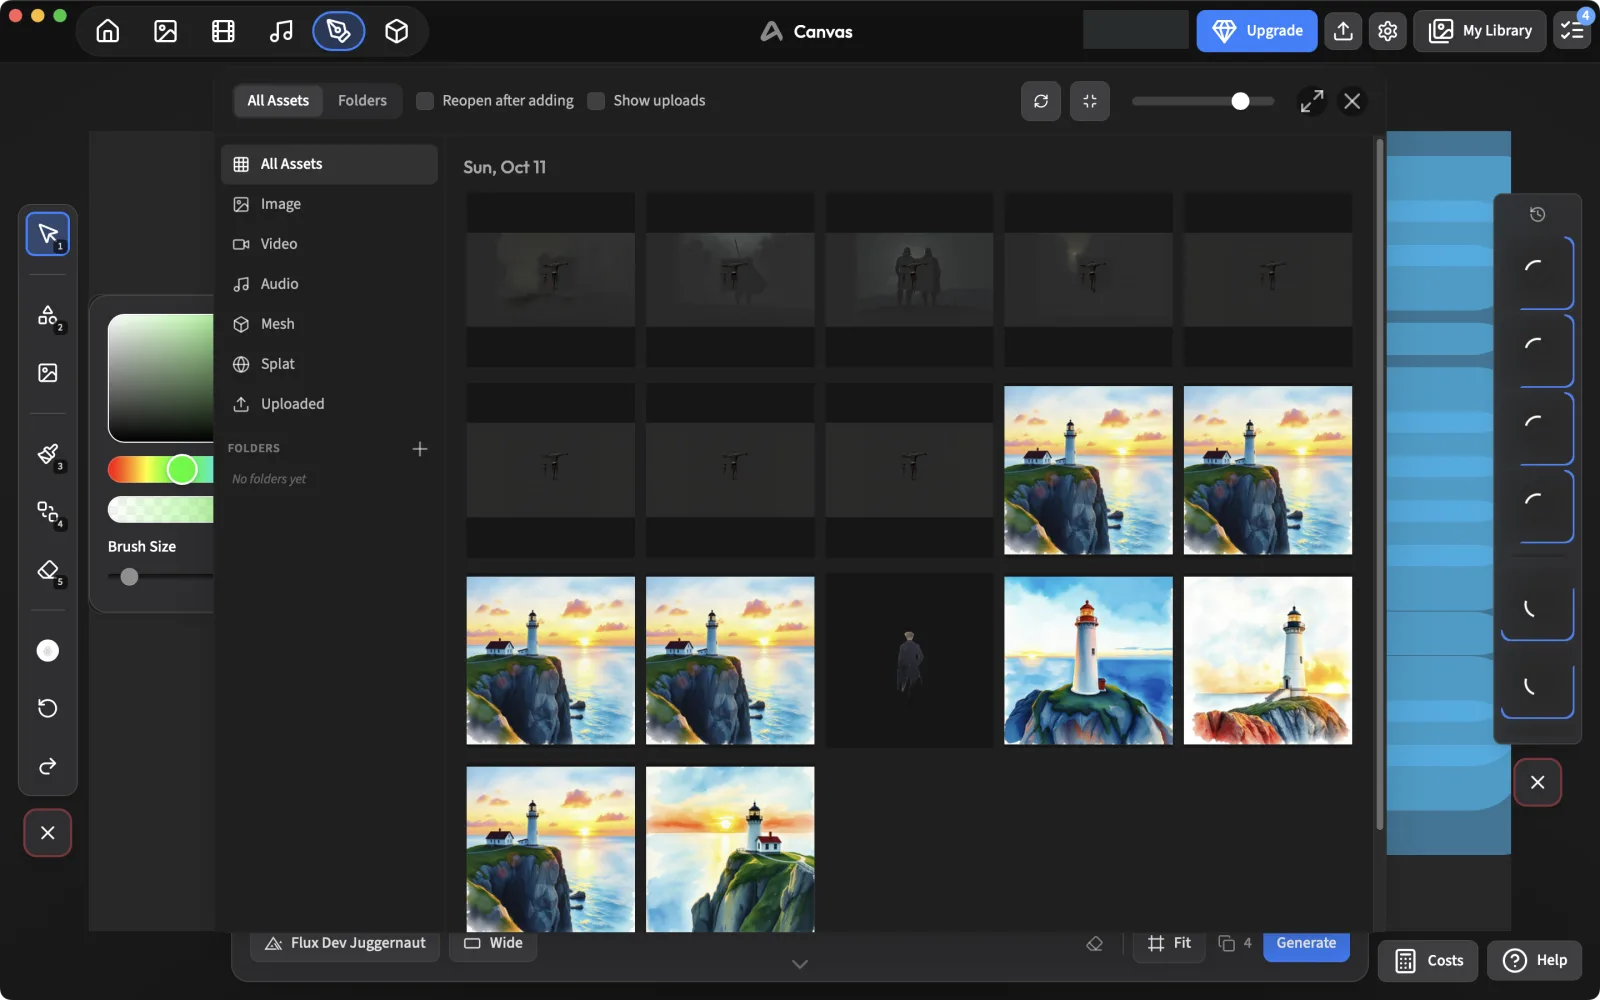
All our results land in My Library:
Back to all tutorials, or see how ArtCraft fits with the rest of the suite in ArtCraft vs Adobe.
Don’t have ArtCraft yet?
Free to download for Windows and macOS; needs an account.
Artworks shown: Vincent van Gogh, Wheat Field with Cypresses (1889, The Met, CC0); Johannes Vermeer, The Milkmaid (c. 1660, Rijksmuseum); Caspar David Friedrich, Wanderer above the Sea of Fog (c. 1817); The Blue Marble (NASA, 1972); Pillars of Creation (NASA, ESA, and the Hubble Heritage Team (STScI/AURA), 2014). All public domain. Screenshots: PhotoCraft 0.7.0, captured by ArtCraft AI Guide.
All tutorials